


Phlebotomy might sound straightforward, but there is a lot more to it than just drawing blood. Consider that even a single mistake in the order of draw can alter test results and compromise patient safety. Most people focus on the needle and collection tubes, yet it is mastering the tiny details and thorough preparation before the first drop even touches the tube that sets top professionals apart.
Table of Contents
- Step 1: Research Phlebotomy Procedures And Practices
- Step 2: Gather Necessary Equipment And Supplies
- Step 3: Prepare Your Mind And Body For The Procedure
- Step 4: Execute Proper Blood Collection Techniques
- Step 5: Verify Sample Quality And Documentation
Quick Summary
| Key Point | Explanation |
|---|---|
| 1. Master blood collection techniques | Understanding the order of draw is essential for preventing cross-contamination and ensuring accurate test results. |
| 2. Assemble quality medical supplies | Invest in professional-grade phlebotomy equipment and verify that all items are sterile and within expiration dates. |
| 3. Prepare physically and mentally | Stay hydrated, well-rested, and calm to enhance your performance during blood collection procedures. |
| 4. Perform thorough patient identification | Always confirm patient identity using two identifiers to prevent errors and build trust before starting the procedure. |
| 5. Verify sample integrity and documentation | Ensure that all samples are correctly labeled and documented to maintain traceability and support accurate diagnostics. |
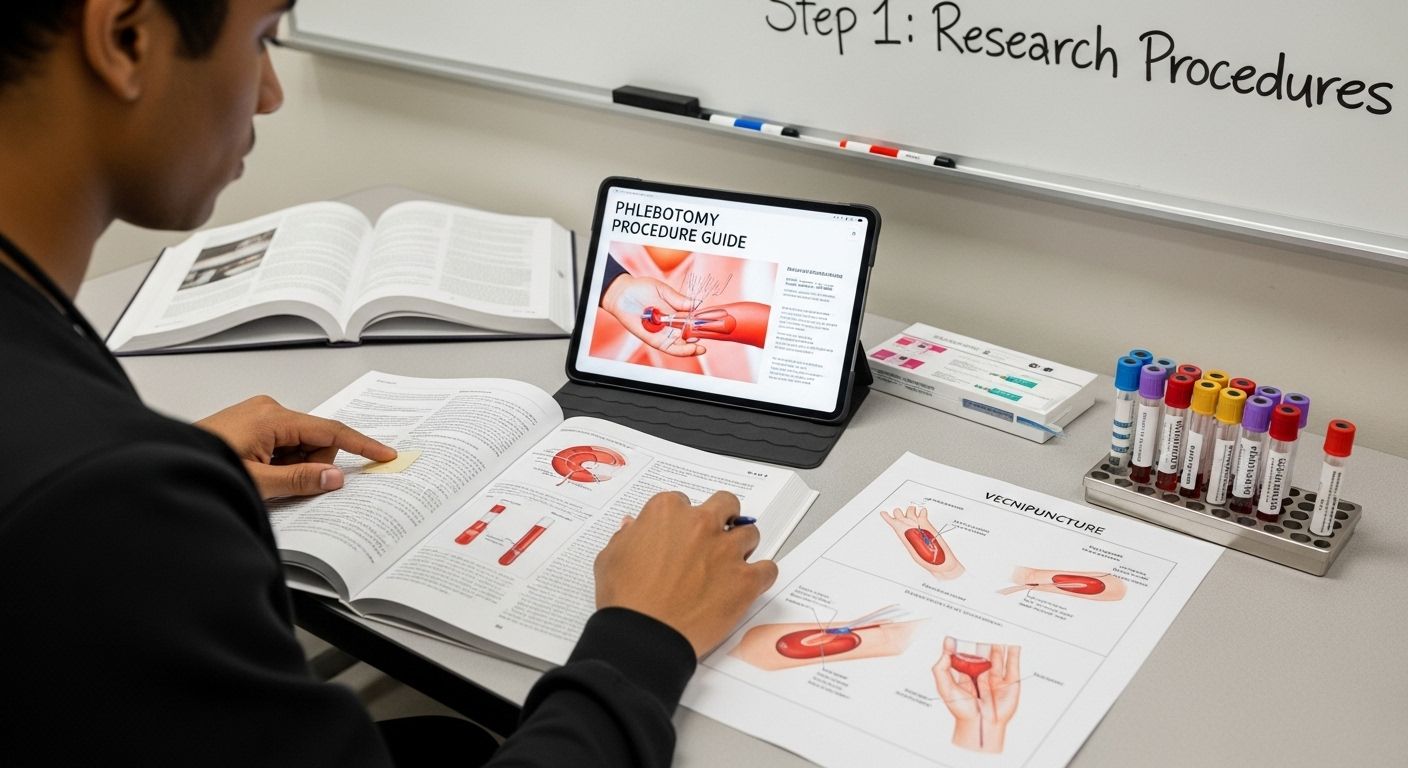
Step 1: Research Phlebotomy Procedures and Practices
Preparing for a successful phlebotomy career begins with comprehensive research into the fundamental procedures and practices that define this critical healthcare profession. Understanding the intricacies of blood collection is more than just learning a technical skill it is about mastering a precise medical art that requires both scientific knowledge and compassionate patient interaction.
Your initial research should focus on understanding the core principles of blood collection techniques. According to the Royal United Hospitals Bath NHS Foundation Trust, a systematic approach to blood draw involves knowing the correct order of draw to prevent cross-contamination and ensure accurate test results. This means learning which tubes to fill first and understanding the specific additives in different collection containers.
Deep look at anatomical knowledge is important. You will need to become intimately familiar with venous structures, understanding vein selection, patient positioning, and the physiological considerations that impact successful blood collection. Professional phlebotomists recognize that each patient presents unique challenges, from fragile veins in elderly patients to potential anxiety in those uncomfortable with needles.
Professional Training and Certification Pathways
Research the formal training requirements for phlebotomists in your region. Health Careers NHS provides insights into professional development pathways, which typically include:
- Accredited vocational training programmes
- On-the-job clinical training
- Certification examinations
- Continuous professional development requirements
Beyond technical skills, successful phlebotomists develop strong communication abilities. Your research should encompass patient interaction techniques, learning how to create a calm environment, explain procedures clearly, and manage patient anxiety during blood draws.
Verify your learning through multiple resources: professional medical journals, online training modules, academic textbooks, and if possible, shadowing experienced phlebotomists. Each source will provide detailed perspectives on best practices, emerging technologies, and professional standards.
By thoroughly researching phlebotomy procedures and practices, you transform basic knowledge into professional expertise, setting a solid foundation for your future healthcare career.
Step 2: Gather Necessary Equipment and Supplies
Successful phlebotomy requires meticulous preparation and a comprehensive understanding of the equipment essential for safe and accurate blood collection. This step is about assembling a professional toolkit that demonstrates your commitment to precision and patient care.
Your primary focus will be collecting high-quality medical supplies that meet professional standards. According to the NHS Supply Chain, standard phlebotomy equipment encompasses several critical components.
Begin by selecting appropriate blood collection tubes, which vary depending on the specific tests being conducted. These tubes contain different chemical additives and are colour-coded to prevent cross-contamination. Understanding the purpose of each tube type is key professional knowledge that separates competent phlebotomists from exceptional ones.
Essential Equipment Checklist
Your thorough phlebotomy kit should include:
- Multiple sizes of sterile needles
- Vacutainer holders and adapters
- Tourniquets with appropriate tension
- Multiple sizes of blood collection tubes
- Alcohol swabs and antiseptic wipes
- Adhesive bandages
- Disposable gloves
- Sharps disposal container
- Patient identification labels
- Hand sanitiser
- Gauze pads
Quality matters more than quantity. Invest in professional-grade equipment that ensures patient safety and accurate sample collection. Check expiration dates on all supplies, and verify that packaging remains intact and sterile.
Practical organisation is equally important. Arrange your supplies systematically, creating an efficient workspace that allows smooth, uninterrupted blood collection. Position items within easy reach, maintaining a clean and professional environment that minimises potential contamination risks.
Remember that equipment preparation extends beyond physical tools. Mental preparation involves understanding each item’s purpose, handling techniques, and potential interactions. This holistic approach transforms equipment gathering from a mundane task into a critical aspect of professional medical practice.
Verify your equipment readiness by performing a methodical pre-collection check. Confirm all supplies are present, undamaged, and appropriate for the specific blood draw procedure you will be performing.
Below is a checklist table to help verify your equipment readiness before performing a blood draw.
| Equipment Item | Present & Intact | Appropriate for Procedure | Sterility Confirmed |
|---|---|---|---|
| Sterile needles (multiple sizes) | |||
| Vacutainer holders/adapters | |||
| Tourniquets | |||
| Blood collection tubes (various) | |||
| Alcohol swabs/antiseptic wipes | |||
| Adhesive bandages | |||
| Disposable gloves | |||
| Sharps disposal container | |||
| Patient identification labels | |||
| Hand sanitiser | |||
| Gauze pads |
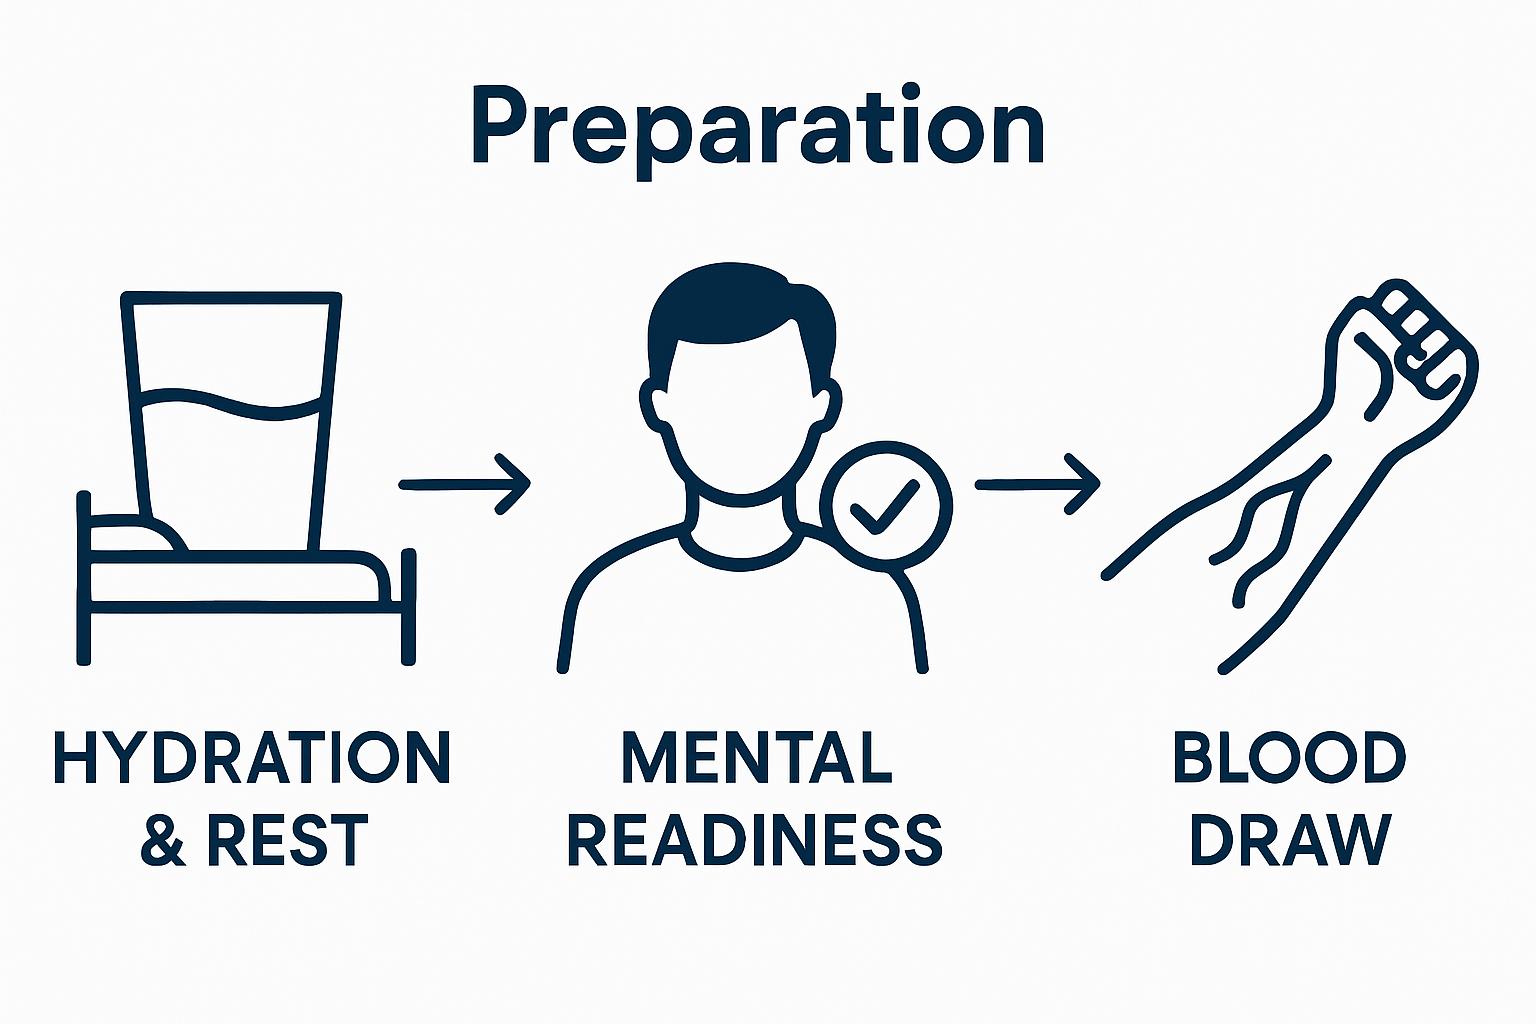
Step 3: Prepare Your Mind and Body for the Procedure
Phlebotomy success hinges not just on technical skills, but on detailed personal preparation that encompasses both mental and physical readiness. This critical step transforms a potential moment of anxiety into a controlled, professional experience where you demonstrate calm expertise and patient comfort.
Physical preparation begins with understanding how your body impacts the blood draw process. Hydration is paramount. Well-hydrated individuals have more prominent, accessible veins that make blood collection smoother and less stressful. Drink water consistently in the hours leading up to your procedure, aiming for clear or light yellow urine as an indicator of proper hydration.
According to the NHS guidance, managing your physiological state involves several strategic approaches. Start by ensuring adequate rest the night before. Fatigue can make veins less cooperative and reduce your overall performance precision. Aim for 7-8 hours of quality sleep, creating a stable foundation for your professional capabilities.
Mental Preparation Strategies
Your mental approach significantly influences the procedural outcome. Anxiety can cause physical tension, making vein location and blood draw more challenging. Develop a personal relaxation routine that helps you centre your thoughts and maintain professional composure.
Consider implementing these mental preparation techniques:
- Practice deep, controlled breathing
- Visualise a successful, smooth blood collection
- Maintain a calm, confident demeanour
- Develop a positive internal dialogue
- Focus on technical precision
Physical positioning plays a essential role in successful phlebotomy. Practice proper arm positioning that maximises vein accessibility. This involves understanding muscle relaxation techniques that help veins become more prominent. Gently warm your arms if needed, as increased blood flow can make veins more visible and easier to access.
Nutrition also impacts your procedural readiness. Consume a light, balanced meal that provides steady energy without causing digestive discomfort. Avoid heavy foods or excessive caffeine that might increase nervous tension or cause physiological stress.
Finally, verify your preparation through a quick personal checklist. Confirm you are well-hydrated, rested, and feeling mentally composed. Your goal is to approach the phlebotomy procedure with professional confidence, transforming a potentially intimidating experience into a smooth, precise medical interaction.
Step 4: Execute Proper Blood Collection Techniques
Executing proper blood collection techniques represents the pinnacle of professional phlebotomy practice where theoretical knowledge transforms into precise clinical performance. This critical stage demands unwavering attention to detail, patient comfort, and technical precision.
Begin by confirming patient identity and verifying the specific tests requiring blood samples. Patient verification is non-negotiable. Cross-reference identification documents, confirm patient name, date of birth, and any specific procedural instructions. This initial step prevents potential errors and establishes a foundation of trust.
According to Epsom and St Helier University Hospitals, vein selection requires careful assessment. Examine the patient’s arms, looking for veins that are straight, somewhat prominent, and not close to arteries or valves. The antecubital area typically provides the most reliable venepuncture site. Gently palpate potential sites, assessing vein elasticity and depth.
Technique and Precision
Prepare the selected site with professional thoroughness. Use an alcohol swab to cleanse the area, allowing complete air drying to prevent potential alcohol interference with test results. Apply a tourniquet approximately 3-4 inches above the intended puncture site, ensuring it is tight enough to restrict venous return but not so constrictive that it causes patient discomfort.
When you learn more about advanced blood testing protocols, you will discover subtle techniques that distinguish exceptional phlebotomists. The actual needle insertion requires a steady hand and precise angle positioning. Insert the needle swiftly and confidently at a 15-30 degree angle, bevel facing upward. Watch for blood flashback in the needle hub, confirming successful venous entry.
Fill tubes systematically, following the recommended order of draw to prevent potential cross-contamination. Each tube requires specific filling techniques, with some needing gentle inversion to mix anticoagulants or preservatives.
Potential challenges will emerge during blood collection. Be prepared to:
- Manage patient anxiety
- Handle difficult venous access
- Respond to potential fainting or vasovagal responses
- Maintain sterile technique throughout
Conclusion the procedure by applying gentle pressure with gauze after needle removal, instructing the patient to maintain arm elevation. Apply an adhesive bandage, ensuring patient comfort and monitoring for any immediate complications.
Verify successful completion through careful sample labelling, proper tube handling, and a final patient assessment. Your goal is a smooth, professional blood collection that prioritises patient care and diagnostic accuracy.
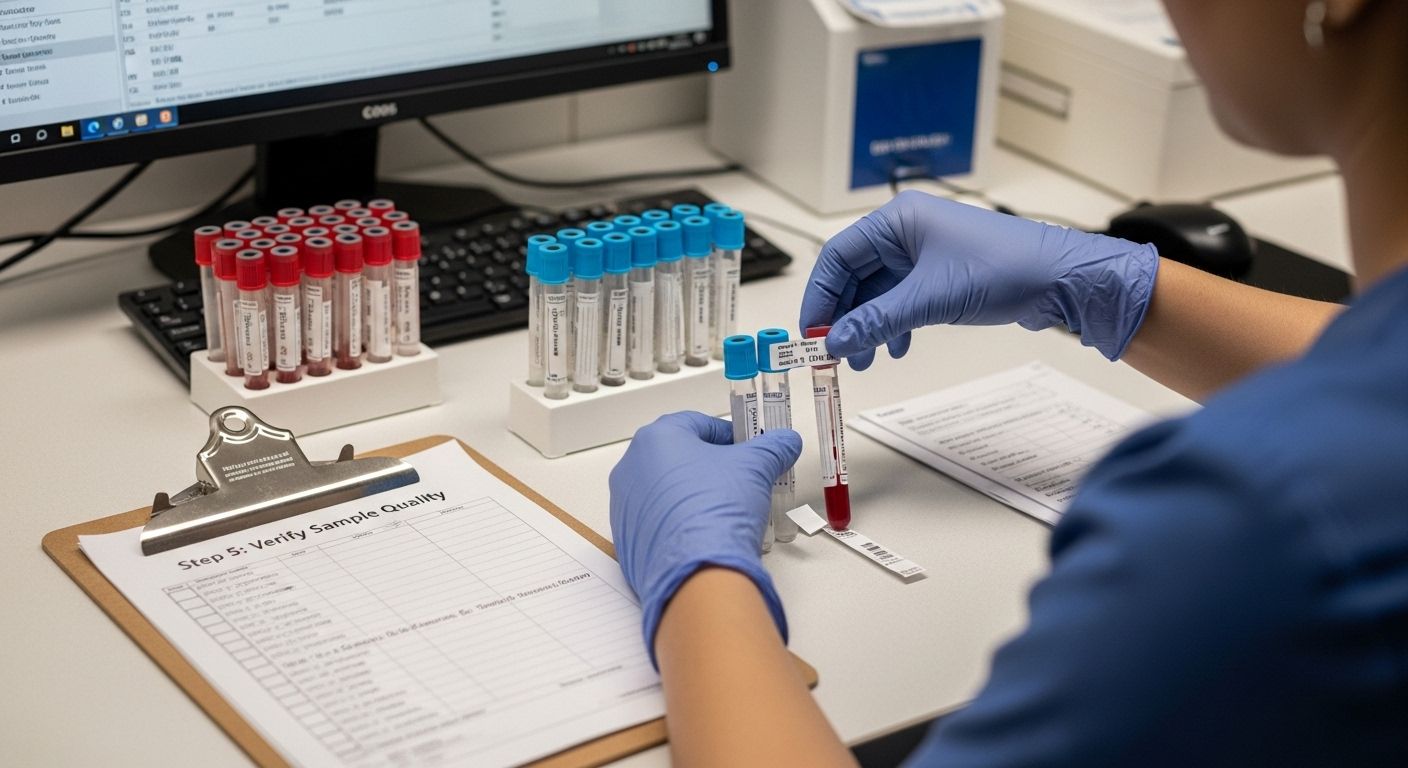
Step 5: Verify Sample Quality and Documentation
Verifying sample quality and documentation represents the final critical checkpoint in the phlebotomy process where precision meets professional accountability. This stage transforms your technical skills into reliable diagnostic information that healthcare providers will use to make vital medical decisions.
Patient identification and sample integrity form the cornerstone of this verification process. According to Birmingham Public Health Laboratory, every specimen must be meticulously labeled with at least two patient identifiers. These might include full name, date of birth, hospital number, or NHS number, ensuring absolute traceability.
Begin by cross-referencing the patient’s details on the collection tubes with the accompanying documentation. Examine each tube carefully, checking for proper color coding, appropriate fill levels, and absence of any visible contamination or clotting. Tubes that appear compromised must be immediately set aside and a fresh sample collected.
Documentation Verification Protocols
Your documentation verification should encompass a systematic review of several key elements:
- Accurate patient personal information
- Correct test requisition details
- Precise time and date of collection
- Phlebotomist’s identification number
- Special handling instructions
- Patient fasting status
Physical sample examination requires a keen eye for detail. Check tube contents for appropriate color, consistency, and volume. Ensure no visible hemolysis, lipemia, or other factors that might invalidate test results. Gentle, controlled tube inversion might be necessary to mix anticoagulants or prevent sample stratification.
Professional documentation goes beyond simple record-keeping. It represents a legal and medical record that could be scrutinised in future clinical assessments. Write clearly and legibly, using standardised medical terminology and avoiding ambiguous abbreviations.
Be prepared to manage potential documentation challenges. If discrepancies emerge between patient records and collected samples, pause the process. Contact supervising medical staff to resolve any inconsistencies before sample processing.
Final verification involves a full checklist approach. Confirm that all tubes are correctly labeled, documentation is complete, and the sample meets laboratory acceptance criteria. Your goal is to provide a pristine, accurately documented sample that supports precise medical diagnostics.
The following table provides a summary of documentation verification steps for ensuring sample quality and accurate records.
| Verification Item | Description |
|---|---|
| Patient identification | Confirm sample labels with two unique patient identifiers |
| Test requisition details | Check correspondence between test request and sample type |
| Collection time and date | Record precise date and time for traceability |
| Phlebotomist identification | Ensure your staff or practitioner ID is recorded |
| Special handling instructions | Note any specific requirements (e.g., fasting status) |
| Sample appearance | Inspect for correct volume, colour, and absence of clot |
| Complete documentation | Verify all fields are filled out legibly and accurately |
Prepare for a Confident Blood Test Experience with Lola Health
You have already seen the importance of researching procedures, gathering the right equipment and ensuring both mental and physical readiness before phlebotomy. Yet even with the best knowledge, anxiety around accuracy, convenience and comfort can make preparing for blood tests stressful. Many people worry about getting quick results they can trust or finding qualified professionals who offer a seamless process from start to finish.
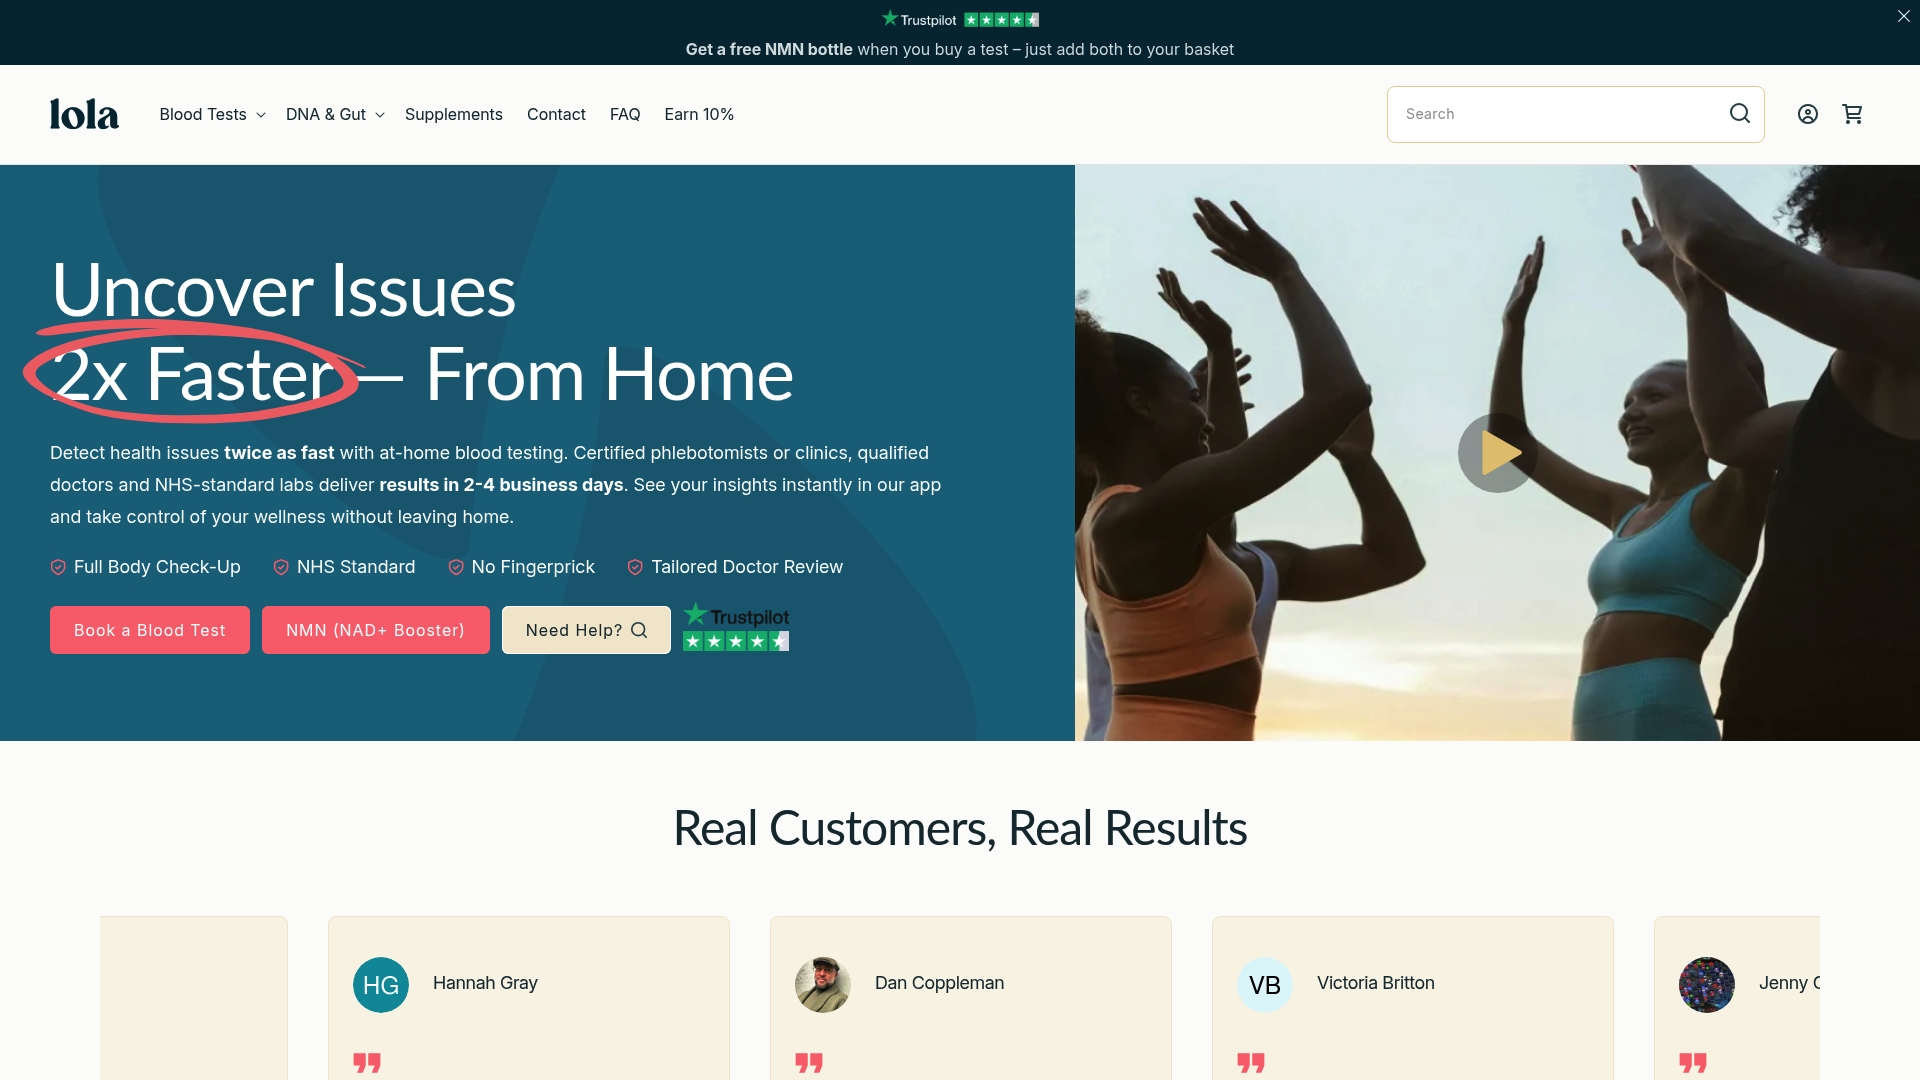
Why not remove the worry and let certified nurses come to you? With Lola Health, you can book at-home or clinic blood tests carried out by experienced professionals. Your samples are processed in NHS-standard, UKAS-accredited labs, with over 45 to 70 biomarkers analysed and reviewed by doctors, ensuring the high standard discussed in sample documentation and quality control.
Results are typically delivered in just 2–4 business days through our secure online portal. Visit our homepage now to order a blood test, book your appointment and experience a stress-free phlebotomy process that puts your health in your hands.
Frequently Asked Questions
What are the essential supplies needed for phlebotomy?
Successful phlebotomy requires equipment such as sterile needles, blood collection tubes, vacutainer holders, tourniquets, alcohol swabs, adhesive bandages, and a sharps disposal container. It’s important to ensure all supplies are of professional quality and suitable for the specific blood draw procedures.
How do I prepare mentally and physically for a phlebotomy procedure?
Mental preparation involves practices like deep breathing and visualisation of a successful procedure, while physical preparation includes maintaining hydration and getting adequate rest before the procedure. Proper arm positioning and relaxation techniques can also help in ensuring a smooth blood collection process.
What steps should I follow during the actual blood collection?
During blood collection, begin with patient identification and ensure the correct vein selection. Prepare the site with an alcohol swab, apply a tourniquet, and insert the needle at the appropriate angle. Follow the order of draw for filling each tube, manage patient comfort, and apply pressure after removing the needle.
How can I verify the quality of blood samples collected?
To verify sample quality, ensure that each specimen is accurately labelled with patient identifiers. Check for proper colour coding, fill levels, and absence of contamination. Documentation, including accurate patient details and collection times, should be meticulously completed to ensure traceability and integrity of the samples.
Recommended
- Women’s Health Blood Tests Guide
- Lola
- 8 Key Items for Your Health Screening Checklist
- Understanding Full Blood Count

At-Home Blood Testing
Check your levels from home
Professional phlebotomist visit. Doctor-reviewed results in 2-5 days. Track your health with comprehensive blood panels.
→45-70 biomarkers tested · Venous blood draw · From £130